Digital art, Facebook 3D Graph Explorer, and more Project Lemma
My last two posts focused on general game development topics, but no longer. It's the end of the year, time to look back and review before looking forward to the new year!
Digital Art
First off, some fun diversions. In my pursuit of an art minor at Ohio State, I took a digital art class autumn quarter. The instructor let me use software I was already familiar with, so I didn't learn much. But the class gave me the motivation to plonck my butt down and make some art, which is all I really wanted.
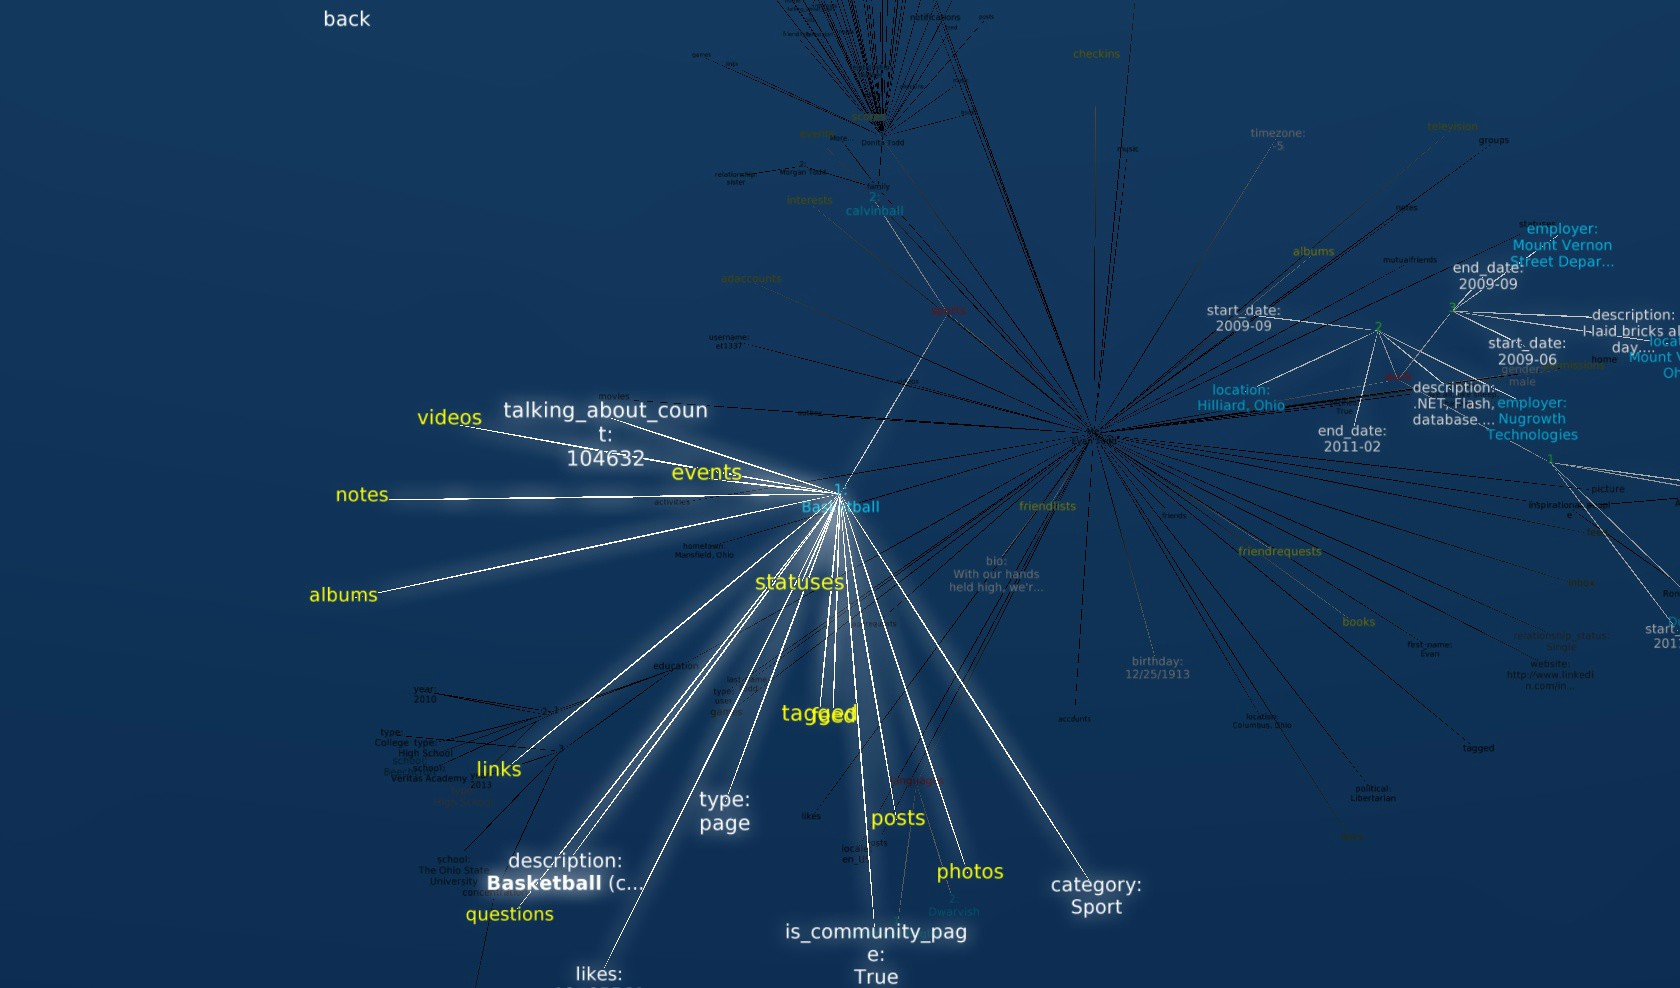
One of the assignments was to create a mapping project, which resulted in this monstrosity:
It's not the most efficient representation, but it's a diagram of all the files I've created while at Ohio State. The brightest circle is the root directory, and the other directories branch off of it. It would have been really interesting (not to mention embarassing) to map out all my files all the way back to 6th grade, but that would have roughly doubled the size of the project. Maybe I'll revisit it later. ;) (Bonus: see if you can find where this image itself was stored! I N C E P T I O N)
Then my teacher wanted me to actually do some "real" image manipulation, which resulted in this series:
I built the cube scene in Blender 2.5. The pictures were taken with the crappy camera in my Droid X for two reasons. One, it's the only camera I had. And two, the gritty low quality would help mask my terrible image editing skills. :) The picture of me climbing in the window took around 50 attempts to get right. The hardest part was probably lining up the camera in Blender to match the perspective of the photos. The one thing I really regret now is making the window have zero thickness. I wanted it to look like a portal, but the fact that it has no thickness makes it look a bit like a projection.
For the final project, my instructor said we could do whatever we wanted. So I built something I've been wanting to do for a while: a 3D Facebook Graph explorer! Rather than simply graphing your friends' mutual relationships, I wanted to graph EVERYTHING. You can see connections between posts, tags, photos, people, places, events, everything.
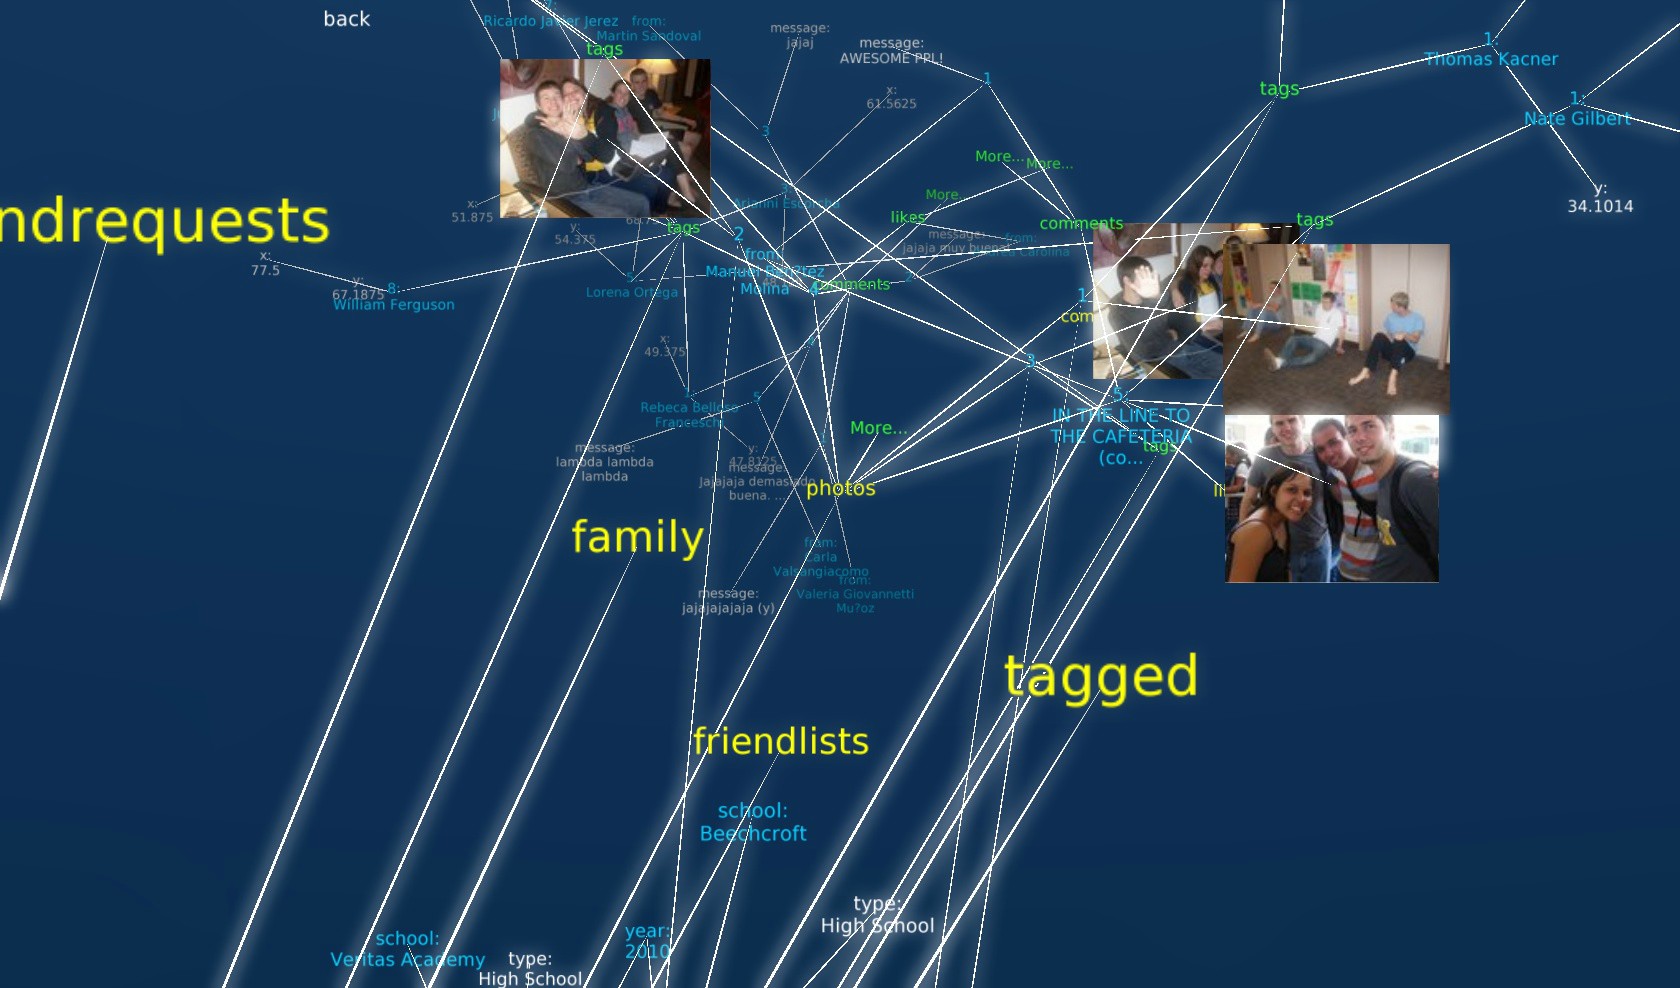
This came about after I saw how easy and awesome the Facebook Graph API is. Really, it's amazing. They provide a simple graph explorer for you that shows the kind of JSON data you can get. It's fun just to mess around with. Check it out.
I used the super easy Panda3D engine which allowed me to write everything in Python. For this project, I took advantage of the engine's built-in bloom, text rendering, and ODE integration for the nifty physics bounciness. Panda3D also features a browser plugin, which made Facebook integration very easy. I used Facebook's Javascript library to do the authentication. All I had to do was pass the access token to the plugin via an embed parameter. Then this simple library made it easy to talk to Facebook from Python.
The one feature I really wanted that never panned out was asynchronous HTTP requests. You'd think something like that would be built into Python, but noooo. And the third-party solutions are generally pretty complex (looking at you, Twisted). Anyway, I'm posting the source here in case anyone's interested. The whole thing weighs in at around 1000 lines.
Project Lemma
I've made a lot of progress with Project Lemma over Christmas break. I started by adding C# scripting support, followed by some useful tools for scripting, like triggers. I also added an immensely useful animation system similar to the Universal Tween Engine. It allows you to create transitions in one easy line of code. For example, to double the scale of a sprite over the course of three seconds, you might do something like sprite.Run(new Scale(2.0f, 3.0f)). I learned this from developing on the iPhone, whose success I am convinced is entirely due to nifty transitions.
Combined with the property binding system and the scripting system, it's incredibly powerful. Here's a script I wrote that runs when the first level loads (it tries to simulate the player "waking up").
renderer.BlurAmount.Value = 3.0f; // Start out blurry and completely black
renderer.Tint.Value = Vector3.Zero;
script.Add("Animation", new Animation
(
  new Animation.Sequence
  (
    new Animation.Vector3MoveTo(renderer.Tint, Vector3.One, 1.0f), // Fade in from black
    new Animation.Execute(delegate() { enablePlayerComponents(true); }), // Enable player movement
    new Animation.FloatMoveTo(renderer.BlurAmount, 0.0f, 4.0f) // Slowly decrease the blur amount
  )
));
Hopefully this is enough to show how it works. I just pass a property to the animation, and each frame the animation object updates the value of that property. The real power comes in the ability to combine animations together, as demonstrated by the Animation.Sequence. Once the base was done, it was very easy to add classes like Animation.Reverse, Animation.Parallel, Animation.Repeat, and Animation.Speed.
In fact, here's the complete source code. It's less than 500 lines.
After that, I revamped the editor UI. And by revamped, I mean I built one. The old one was a single text label with a bunch of spaces and newlines to create the illusion of formatting. The new design supports mouse navigation and is much better!
I again took advantage of the property binding system with this UI. For example, in the image above, the fields are displayed in a series of lists. The size of the list depends on the number and size of items contained in the list. So, I just created a binding on the Children property that notifies the list whenever a child is added, replaced, or removed. Whenever a child is added, I add a binding to its Size property that also notifies the list when the child's size changes. When notified of these changes, the list marks itself "dirty", which means it needs to recalculate its layout before being drawn.
At first I had it recalculate the layout immediately upon receiving a change notification, but that resulted in the entire UI layout being recalculated every time something changed, which could be multiple times per frame. The dirty flag ensures the layout is only recalculated once per frame.
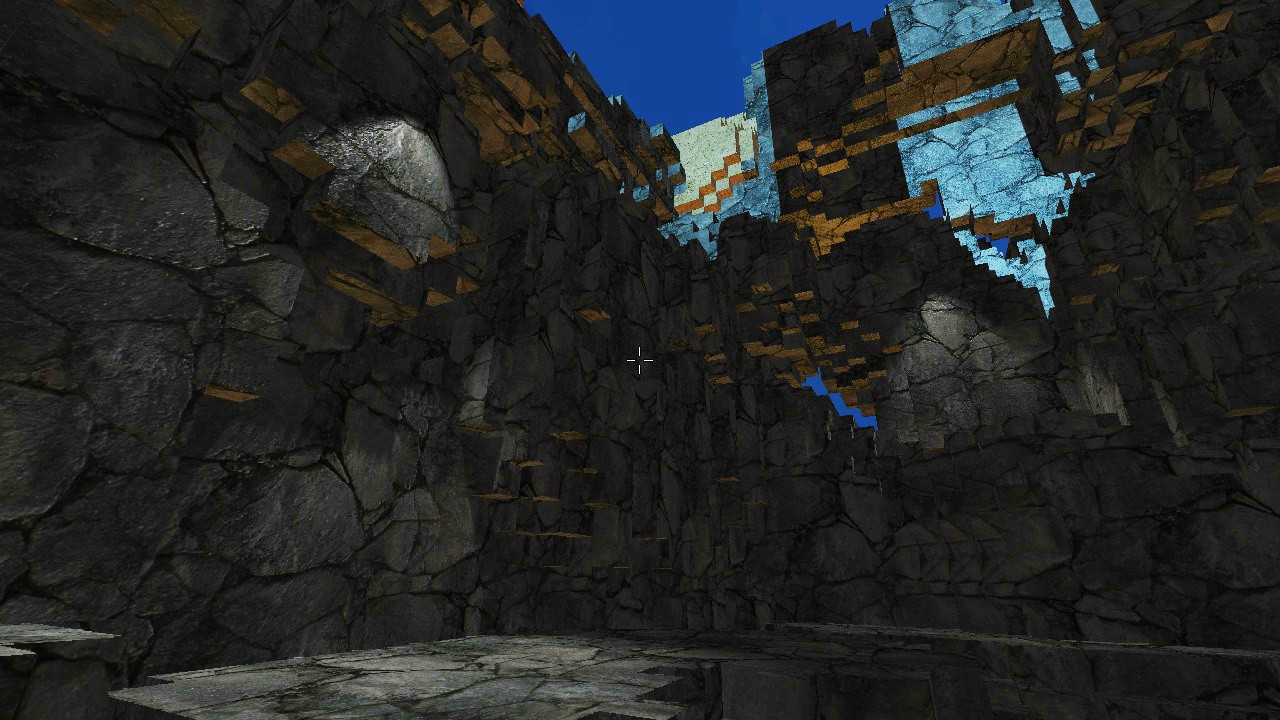
Next, I quickly threw in a few graphics updates that allow more control over the look and feel. I added support for spotlights (which is easy with deferred shading; it's just like point lights, but with a cone instead of a sphere). So now there will be dramatic lighting all over the place. I also got some feedback from the last video (thank you, by the way!) that everything looked a little dark. After fiddling with all the lights in the editor a bit, I realized I needed a better way to tweak the overall color of the game.
I implemented a simple, quick, but effective solution described in a GPU Gems article. Rather than rolling your own color curve editing tool, it takes advantage of the fact that you already have a fantastic curve editor: it's called Photoshop (or GIMP). Here's a synopsis of the technique:
- Take a screenshot of your dark/bland/whatever game.
- Edit the curves until you like what you see.
- Save the curves profile. GIMP saved mine automatically.
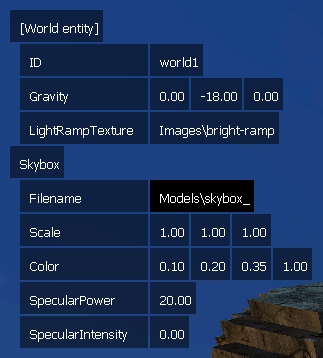
- Make a new 256x1 image with a gradient from black to white going left to right. This is called a color or light ramp.
- Apply the saved curves profile.
- Save the image and use it as a texture in your post-process composite effect.
- Use the source code below in the composite effect.
float3 inColor = ... // This is your unedited color
float3 outColor;
outColor.r = tex1D(LightRampSampler, inColor.r).r;
outColor.g = tex1D(LightRampSampler, inColor.g).g;
outColor.b = tex1D(LightRampSampler, inColor.b).b;
DONE. Easy, right? It's the poor man's tone mapping. Here's a screenshot showing off the brighter color correction and deferred spotlights:
A lot more work has been done on Project Lemma, but it's not very exciting. I fixed a lot of memory leaks. There's a lot of exciting work happening on the gameplay, but I'm not quite ready to show it yet. More on that in the new year!
Work
I went back to work for two weeks over Christmas break. My co-workers released Sarge and Oculus while I was gone! Check out Sarge, it features some great voice acting and hand-drawn animation.
Anyways, my employer let me take my work machine (MacBook Pro) back to Ohio State so I can continue working. Unbelievable! Now that I have access to my work computer in my free time, I'd love to take some screenshots and talk about the game I'm working on, but I'm not sure what I'm allowed to say under NDA. I'll ask and double check. At any rate, the game should be done by this summer, so stay tuned.
Wrapping up
Whew. That was a lot. It's late. Needless to say, I'm excited to keep progressing next year. Hope everyone had a great year as well, and I can't wait to continue the journey with you all! Thanks for reading!